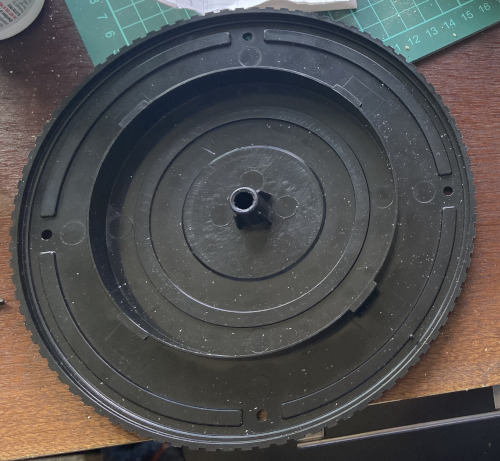
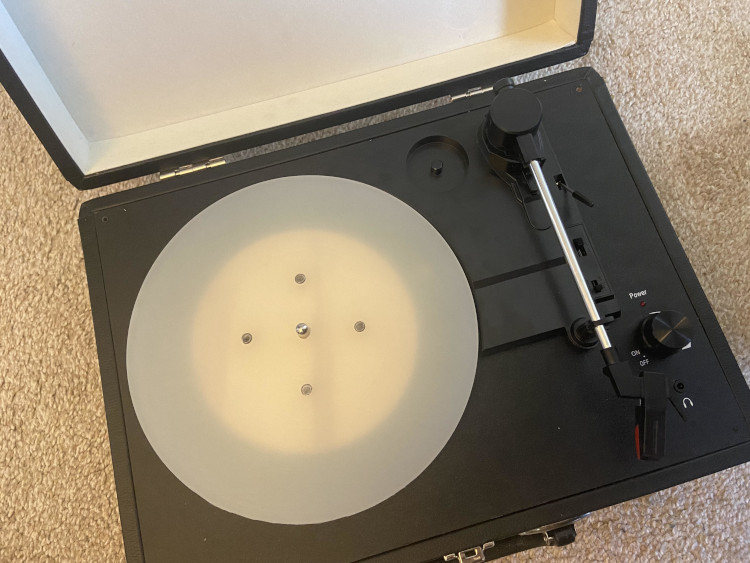
If you have been keeping up with my projects, you'll remember my first project with this record player, where I got it running on a USB battery instead of a wall outlet. This time around, I'm hoping to fix a problem that it's had since I've gotten it. The platter (the rotating piece the record sits on) wobbles! Disassembling the platter revealed that the hole in the center of it was elliptical, one axis being a couple millimeters longer than the other. This means that as the record revolved, the tonearm would wiggle the platter and record back and forth as the radius of the platter changed. Why this happened is hard to say, although I remember it happening since I first got the player, so I'm pretty sure it isn't a wear problem. Just poor quality control.
So that just leaves us to try and make a new platter. Which can't be that hard, I hope (spoiler alert, it is that hard).
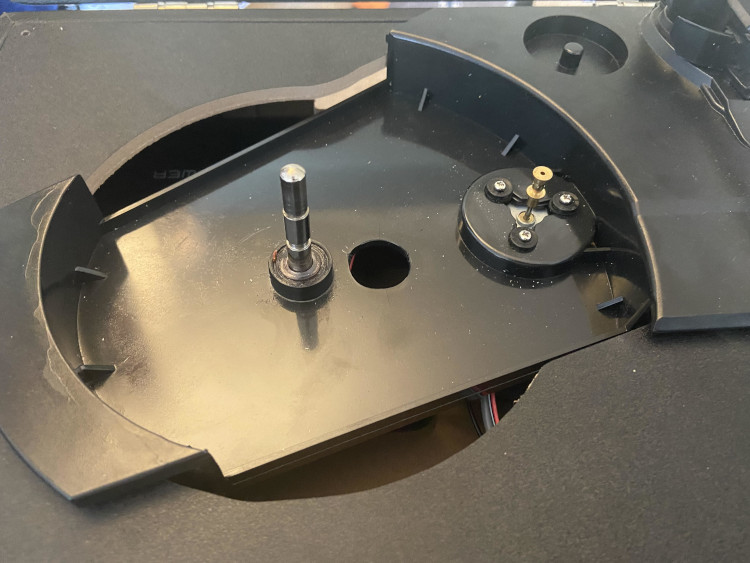
Taking some measurements of the platter, I found a very close similarity with some of the wood I had on hand. The platter can be broken down into two main parts. The top is a wide, thin piece of plastic to hold a large part of the records area. Below that is a smaller diameter hub of sorts, which the belt runs around to rotate it. The whole thing sits on a fixed metal rod, rotating around it. I had some cheap pine that was about the same thickness as the hub, and plywood for the platter. All I had to do was make a pair of circles and glue them together, then bore out the center so it fits in the player.
Having a bandsaw in my college apartment made this job fairly easy. For christmas, my dad made me a circle-cutting jig for my bandsaw, where an 1/8" post can be slid closer or farther from the blade. Then, the part can be rotated on that post, cutting at a constant distance from it. This meant that all I needed was a 1/8" pilot hole in my pieces.
Well. That's on me.
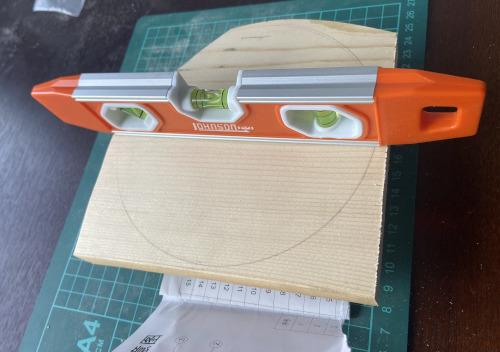
What I should have done is gone into the shop to drill the pilot holes, but I was impatient. Wanting a new platter, I tried to use a hand drill on an unleveled table. The result was a 5-10 degree angle on the pilot hole, that transfered over all the way to the final platter, which had a way bigger tilt than the original platter. That means, unfortunately, I had to go back to square one.
With my first try up in flames, I figured it was back to the drawing board. In my experience, when you thought something would be a quick job and it wasn't, you have to sit down and make a good plan. The shop guys, while helpful, seemed convinced the problem was that wood warps. I love engineers, we all think what we know how to make is the solution to every problem (yes, I'm also guilty of this). In spite of this, I decided to still make the hub out of wood, although this time I drilled the holes on an endmill for consistence. For the platter, I took a piece of scrap plastic. I don't know what kind of plastic it is except that it's not acrylic.
The wooden hub was made by putting a square chunk of pine into an endmill and drilling the 1/8" pilot hole. This was then set as (0,0), and four 1/4" holes were drilled. These will have metal dowels inserted into them to attach the hub to the platter. Then, I took the piece home and mounted it on the circle jig. Don't tell the guys at the UW shop, but what would've taken ~2 hours on a CNC endmill took less than 3 minutes for setup, cutting, and cleanup on the bandsaw.
The plastic platter was the trickier part. To start, I faced one side of the plastic in an endmill, then used its CNC programming to cut 3/8" down in a circle of the right diameter. The final piece needs to be about 5mm thick, meaning it will be quite the workpiece to machine on the lathe. However, I am currently pretty married to the idea of doing the final facing on the lathe, as that would all but ensure the center drilled hole is perpendicular (I'd use the lathe for both the facing and drilling). Since I'm writing this as I work out the problem, I'll make a list of routes that could work.
With those plans in mind, #1 jumps out to me as the best option. However, in practice it has quite a few problems. Mainly in how difficult the piece is to mount on the lathe. A 5mm thick plate with a diameter of ~8" is not easy to set up. While it is a bit thicker than that at the moment, we can only clamp ~4mm, so we can still work the piece. On the other hand, #2 also seems like a good bet, assuming the hub was made to good accuracy. The problem is, the jaws of the shop chuck have 3 levels. The outer level does not close enough to hold the wood hub, and the middle level would have the platter hit the chuck before the hub was seccured.
It has just come to my attention that that type of chuck is generally reversible. I happen to know from accidentially overextending the jaws that they do indeed fall out of the chuck, so I think they should be reversible. That would allow me to try option #2. With that mistake and my bout of COVID over, I can get to final machining.
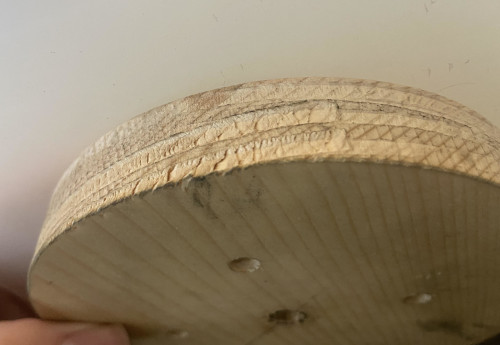
With a plan in my head, I went to the Mechanical Engineering shop. I put the metal dowels into the wooden hub, having them about 3mm into the plastic platter above it. Then I put the hub in the chuck and started turning. This was an unholy amount of trial and error. I was so worried about overtightening the chuck and marking up the hub, that it actually slid in the chuck and now has many horrendous grooves. But, I was able to eventually start machining the surface of the platter down to about 5 millimeters.
After surfacing the top plate down, it was time to use the lathe to drill out the hole. Both the hub and platter at this point have a 1/8" pilot hole, but it has to be drilled to ~19/64" to fit the player. Luckily, I was already set up on the lathe. The surface should even be perpendicular to the drill bit! So I put the bit in, started turning the piece, and slowly drilled through both pieces. Then, I ran the belt around the motor and wooden hub and turned it on. There was a bit of a problem. Somehow, the drill either bent or torqued the workpiece. Either way, the platter fits nicely on the axel, but has a couple millimeters of wobble. But it does indeed run, and even plays records.
The main goal of this project was to replace the wobbly platter that came with my record player. And in that area, I think I did alright! While the new platter does have a wobble, it is consistent and does not have a sharp up and down motion like the old one had. I got practice designing and machining parts, and have a much better idea of what to do next. At some point in the future, I will make a new case and possibly electrical system for this player, and I plan to remake this platter. While it works, it will get on my nerves that it isn't nice and flat. Next time, I think I'll forego the low quality pine wood, and instead make the hub out of something both flat and strong. This would let it be better held in the chuck, and more likely to not mess up the facing operations on the lathe. I think a red hub with a semi transparent or fully transparant platter would look really cool, if I could get my hands on some red plastic.
leviticusrhoden.com Homepage Back to Crafting RSS Feed Send Me an E-Mail!