How you develop film photos is kind of like politics, or working out. Everyone has an opinion and everyone thinks they're right. And thats fine I guess, the goal of this is not to change your ways or convince you I'm right. This is mostly my notes so I can continue to improve my developing methods. All that said, a lot of my inspiration is from Alex from TechnologyConnections, and I've been winging it off of that since. Right below here is my writen method, and below that is a little section that goes over lessons learned from my diffrent rolls I've developed. And in case you are curious, the bold notes are things that have sunk past developing.
-Load Film in a dark bag
This is the standard procedure, put canister opener, scisorrs, all parts of the dark can (body, lid, and spool), and the film. Make sure to cut off the film lead and make the edge clean. Spool it up and close the dark can, then take it out.
-Mix one part Rhodinal developer to 100 parts tap water, 4ml and 400ml for one roll
The dark can says it only needs 375ml, but that stresses me out. Also, I have not found (yet) these numbers to be too picky, I measure the 4ml in a 10ml graduated cylinder, but I meassure the 400ml directly in a 1 liter meassuring cup, so it has a solid +/-13ml. I have also found that one should prepare the rodinal solution the day off, as the mixed solution seems to expire quickly.
-Shake gently, stir with the stir stick, bang on the counter gently to knock off any air bubles
-Let sit 30 minutes
-Stir and bang on counter again, wait 30 more minutes
-Pour out developer into sink with running water (to dilute it)
-Run room temp water into dark can, mixing and shaking for a few minutes
This step acts as a stop bath. Since Rodinal stand development takes an hour, an extra minute to stop the developing reaction does not mean too much, so we don't need a dedicated stop bath.
-Test snipped lead of film and fixer, to ensure fixer solution still works.
If the leader does not turn clear within 5 minutes, it is no longer active and you need to safely pour it out and mix a new batch. I made a liter of it, using about half of that volume every roll, and it has not run out of 'fixing' power in 7 rolls. I currently use arista primium oderless fixer, and while it is my only point of reference, it is doing a fine job.
-Roughly meassure out 400ml of fixer and pour into dark can
-Mix and stir often(once every minute or 3), remembering to bang lightly to knock off air bubbles. Do this for about 12 minutes.
I have not found it possible to 'over fix' a roll, at least not yet. So I always err on the side of leaving it in for 15 minutes or so. But I don't think much more than 10 is actually needed.
-Reclaim Fixer from dark can
-Rinse with water as before
-Prepare surfactant solution/wetting agent
This step is a water bath with a little bit of something like soap, so the water dosn't bead up and instead easily rolls off of the film. I live in Seattle, so I imagined I could get away without mineral deposits/water spots. No dice, so now I use a surfactant solution as a last step. It's not bad, I think 1 part to 200, so it should last forever.
-Pour in wetting agent/water solution, then drain
-Carefully remove film from the spool, then hang to dry for at least an hour
Yeah, I got to excited, and also made the mistake of setting the strip on my bed. It hadn't dried yet, so a whole layer of threads and dirt got stuck to the emulsion layer. Remeber, shooting and developing film is a long, slow process, and a few hours/an extra night of patience will be well worth it.
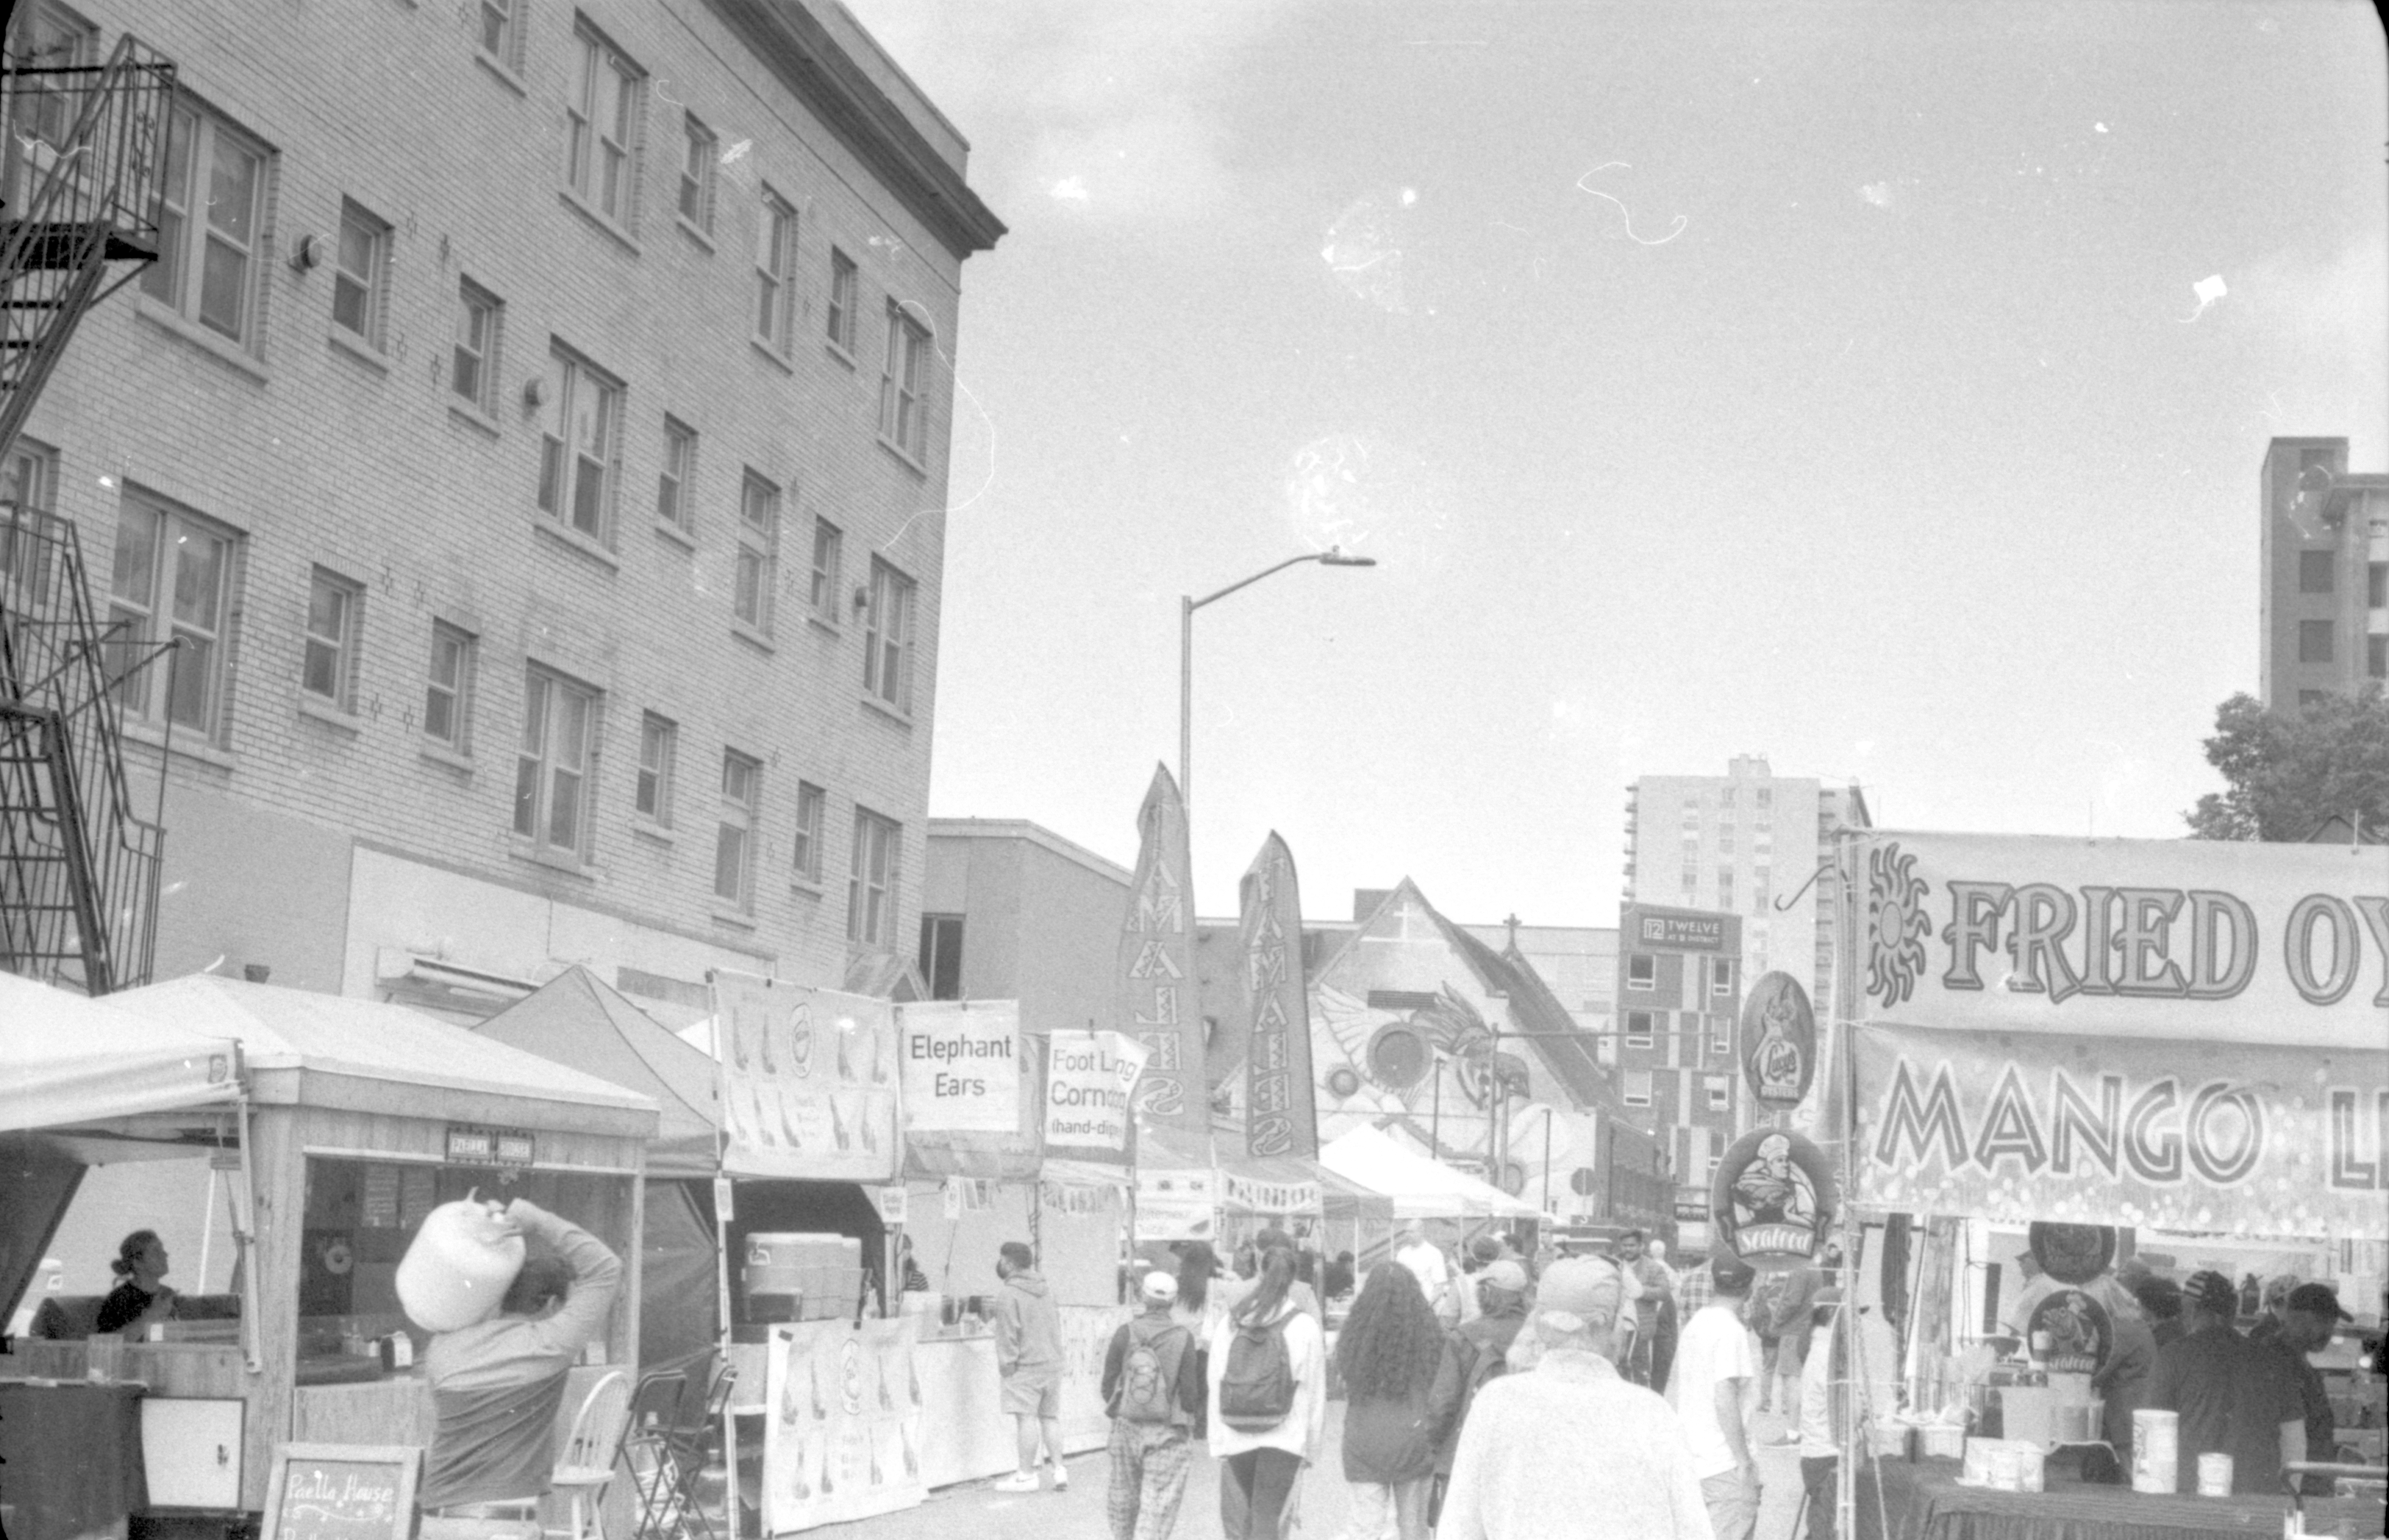
My Rolls
Here, I've put my notes on different rolls I've developed and lessons I've learned. Unfortunatly, I statred this notetaking on roll 7, so the earlier ones are quite sparce for information.
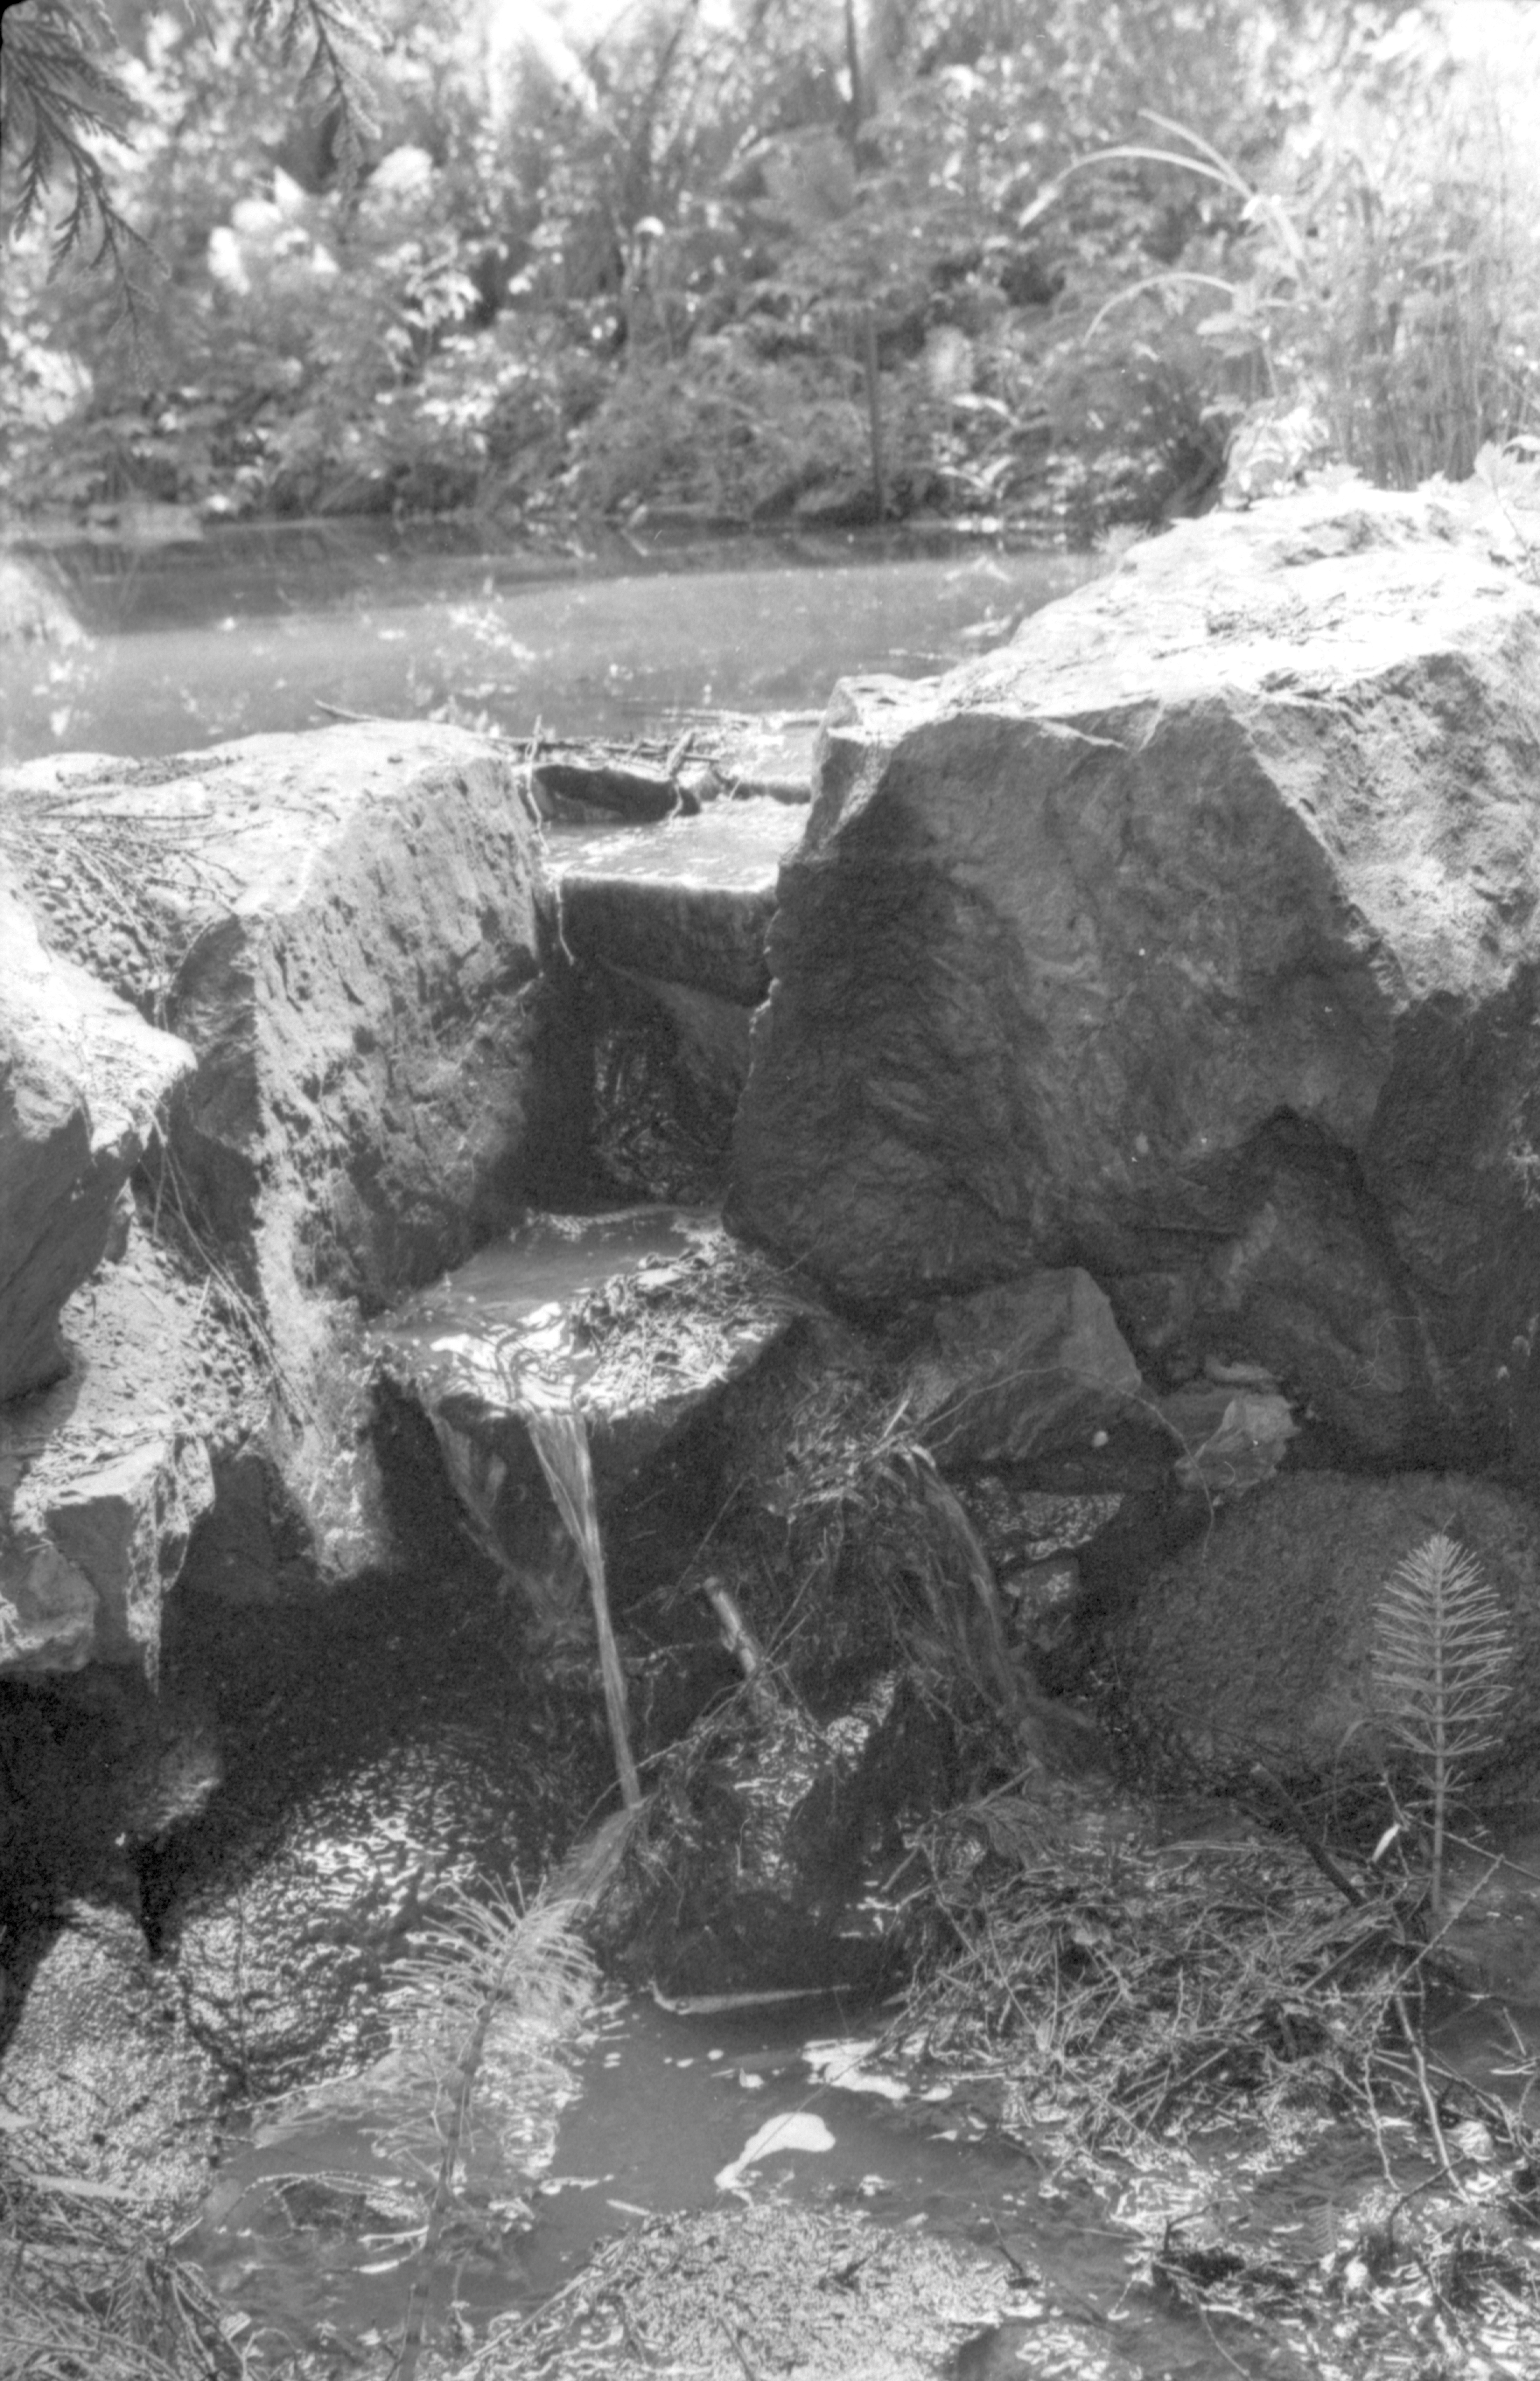
Roll 7
This was my second roll with the Olympus OM-1, and stuff started turning out great! -ish.
Roll 6
Roll 5
Roll 4
Roll 3
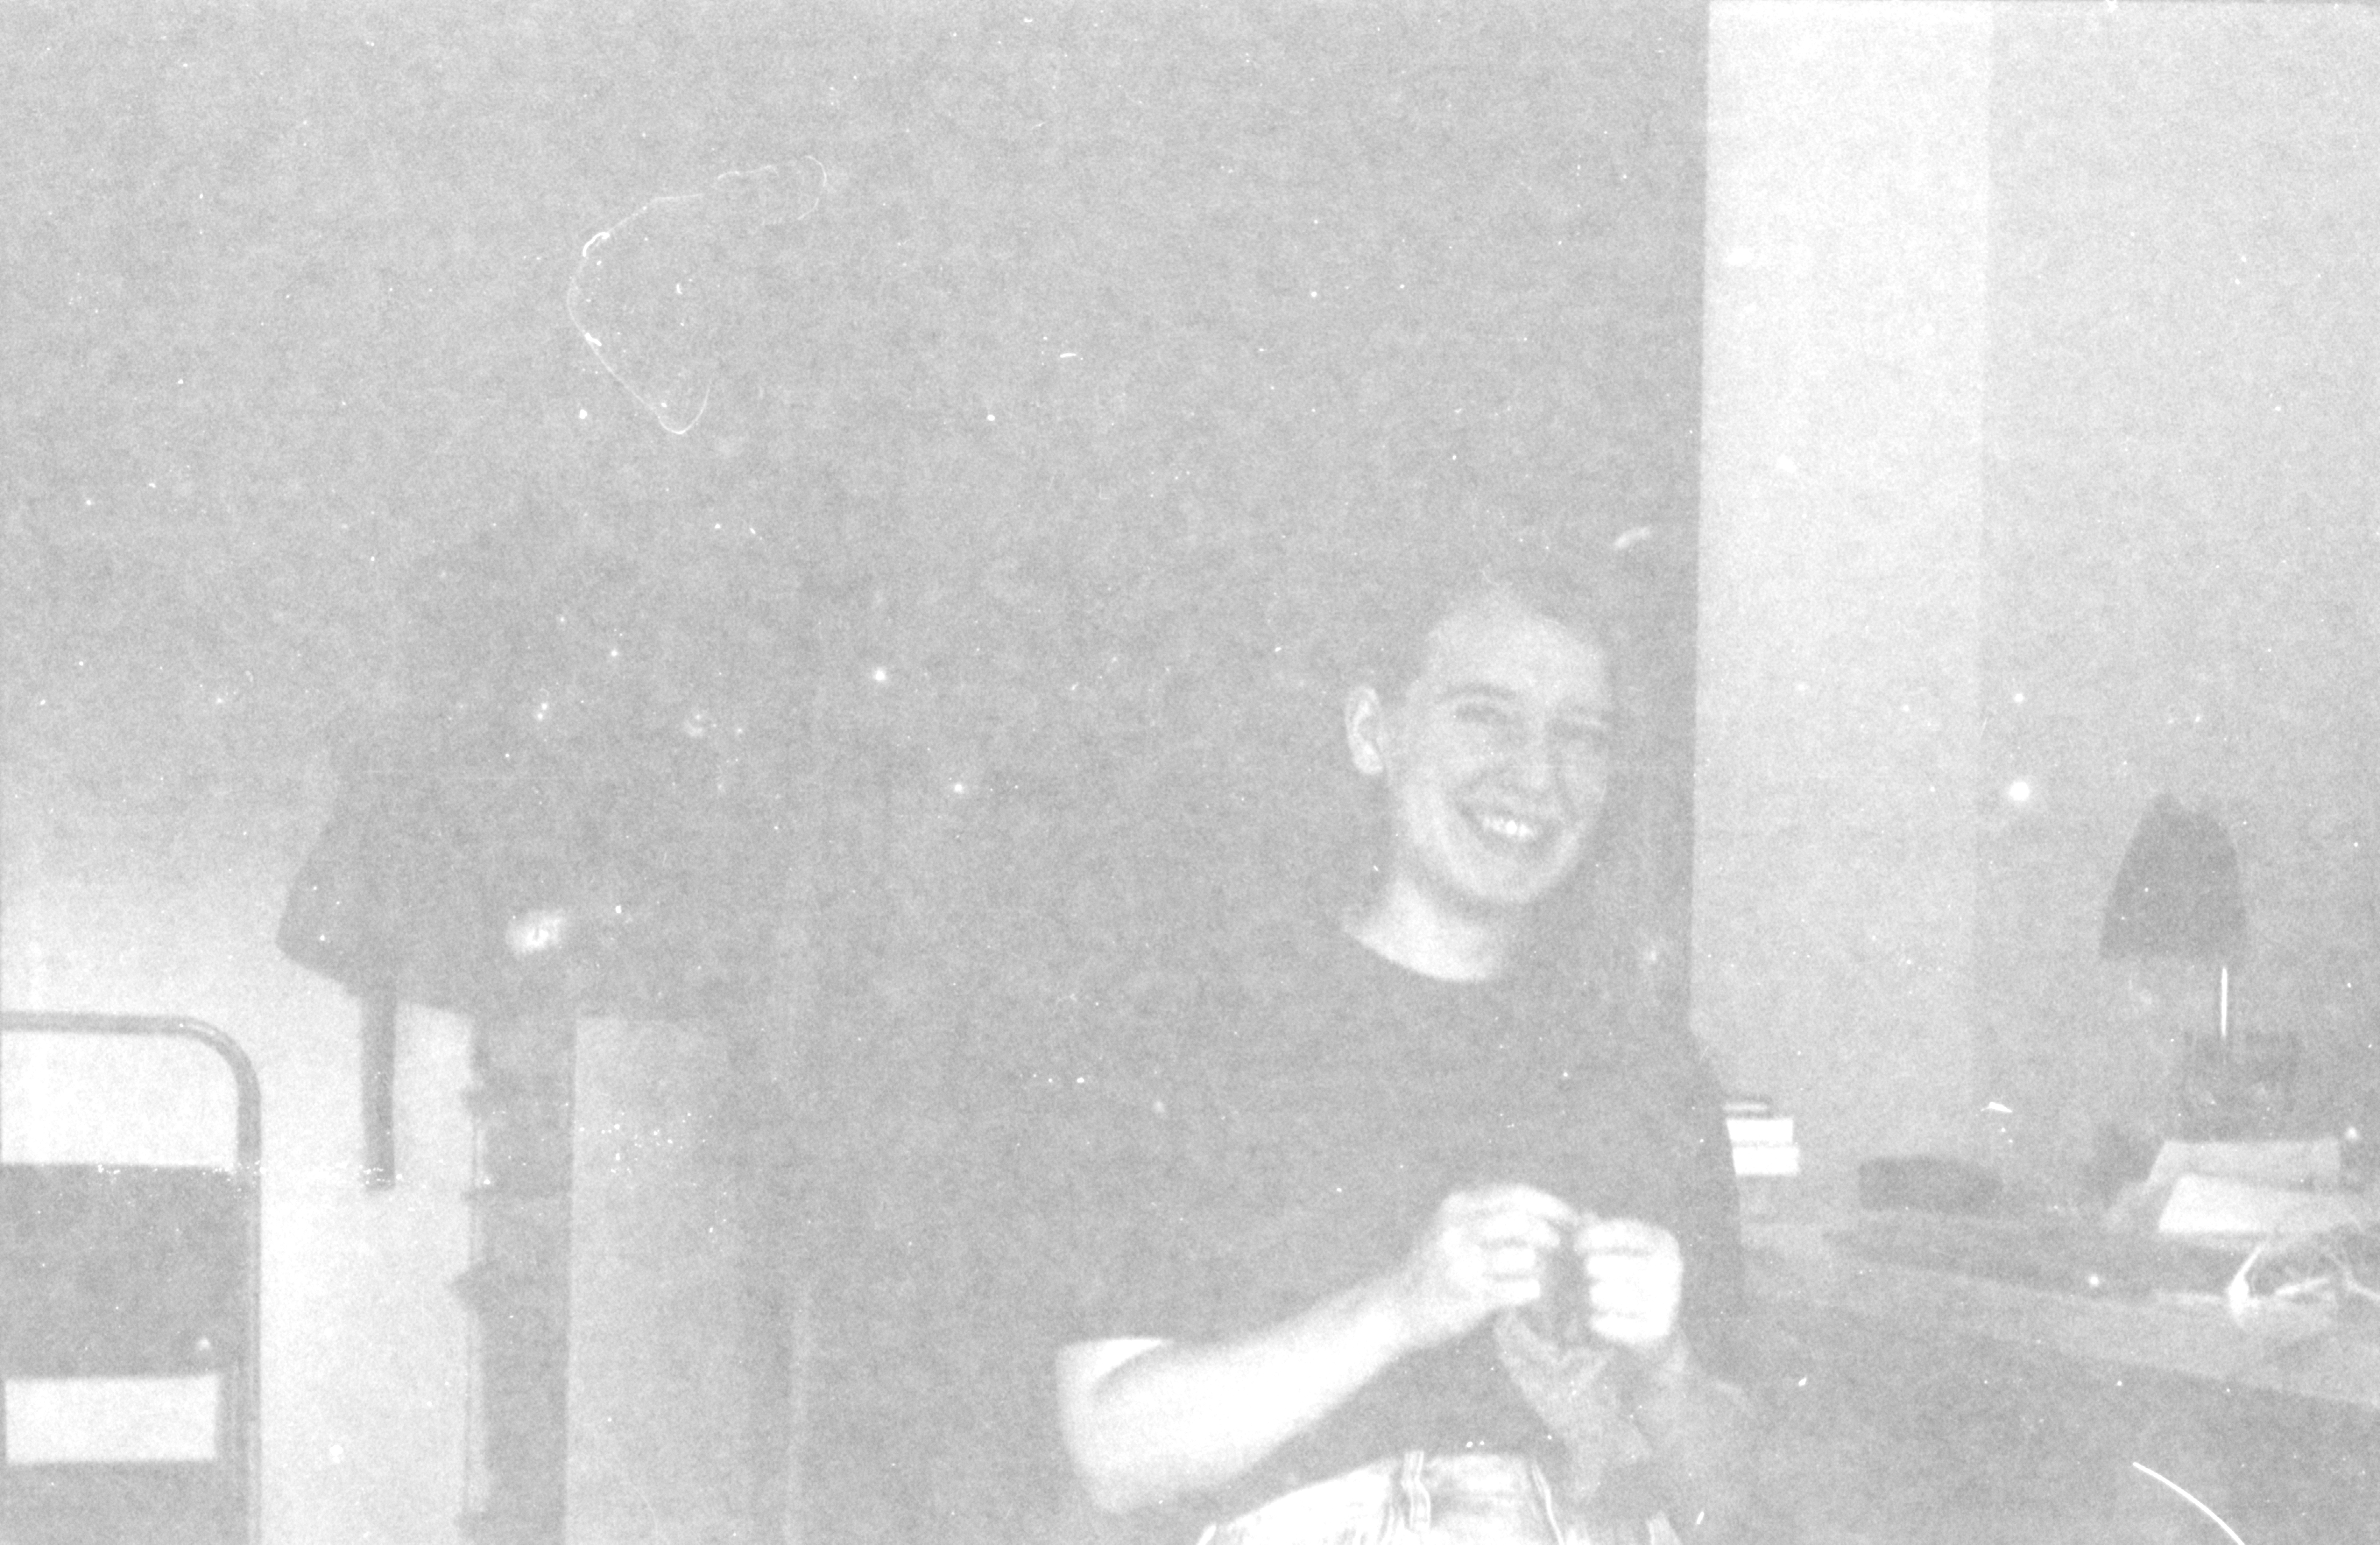
A wonderful photo of my lovely Emma! She's at her desk kniting, which you can almost see through the low exposure.
A wonderful photo of my lovely Emma! She's at her desk kniting, which you can almost see through the low exposure.
Roll 2, If I Had One
For this roll, I used a solution of rodinol and water I prepared when I did roll 1. Sitting diluted so long must have lead to the rodinol decaying because the resulting roll was completely blank. Not even any frame numbers or manufacturing info (which is what you would expect for an exposure/advancment problem). At this point, I don't even remember what was on it, but it was a sad reminder of the possibility of failure. At the same time, it has made every next development attempt a bit more exciting!
Roll 1
This roll was my very first attempt at film photography, and it worked! The results were very exciting at the time, despite the fact they were, well, bad. You'll notice it was very underexposed, which
A wonderful photo of my lovely Emma! She's at her desk kniting, which you can almost see through the low exposure.